
Hi, Dave Fox here from Starscape SEO. Lately, I’ve been trying some new SEO techniques in regards to the app Insta 360, 360 degree photo jpegs, and Google Maps locations. So far, I’m finding the technique to have some resonance and I’m enjoying it.
That said, it took me a bit of time to figure out the nuances of this method, and I thought I’d share my findings here, as there are technical elements of 360 degree jpegs to consider when it comes to Google Maps.
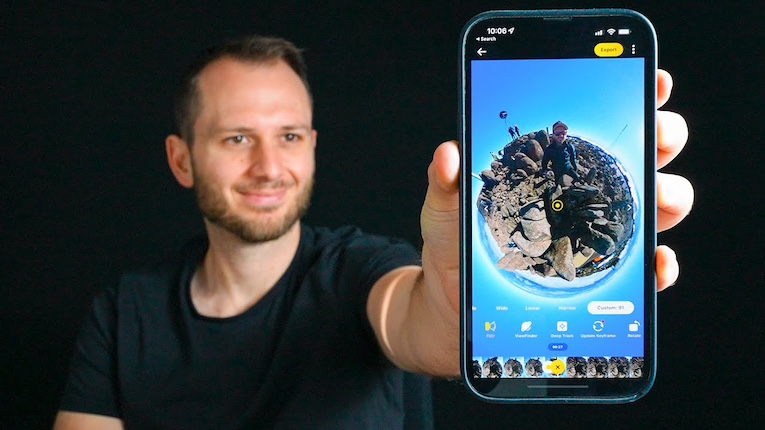
Here’s a sample of something I taught my dad over at Silverfox Fitness, which is his fitness channel, as a way of exploring the possibilities of the Insta 360 app, combined with animation. Cool!
That said, animating a 3D photo is a different conversation. Let’s stick to the topic at hand – uploading a 360 photo to Google Maps – that’s a tough enough nut to crack!
Why do this? Uploading 360 JPEGs to Google Maps can enhance your listings, giving potential visitors an immersive experience of your location.
However, ensuring your images are properly recognized as 360-degree photos requires a few specific steps. In this quick guide, we’ll cover what you need to know to get your 360 images uploaded correctly.
Understanding 360 JPEG Metadata
To render as a 360-degree photo on Google Maps, your JPEG images must include specific metadata. This metadata is crucial as it tells the platform how to display the image.
I should just say before I mention this information that I didn’t add any metadata to these jpeg files myself – it was all done strictly by the Insta 360 app, and exported as such.
It wasn’t until I had exported a 360 jpeg both with and without the app’s 360 features that I noticed it made the difference between a flat, warped image, and a fully rendered 3D image by Google Maps.
The former result, as you can imagine, was horrifying to behold. It was like making a pancake only to discover it was raw, triggering convulsions of revulsion. I’m talking about this:
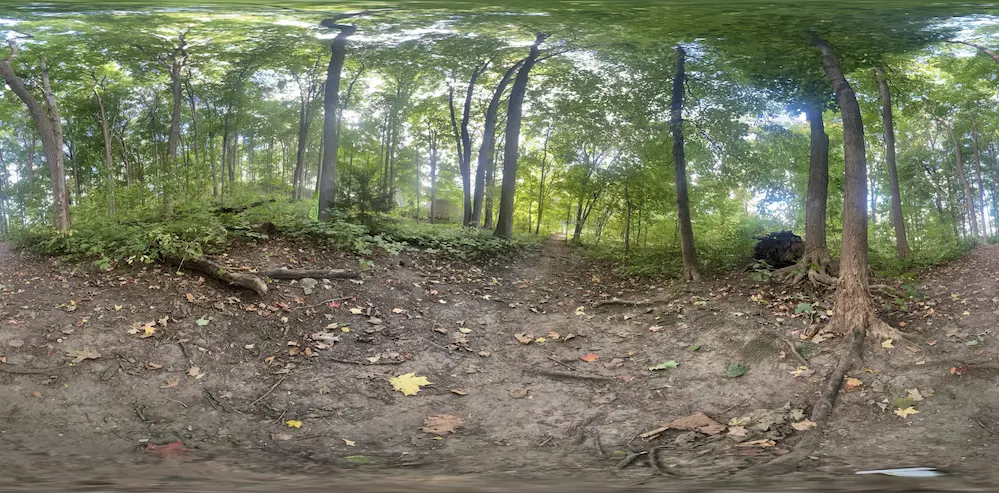
The thing is, you don’t know it’s not going to render until you upload it, and when you upload something like this to Google Maps, if you do it the way I do, Google Maps just sucks it in and the next thing you know, it’s public, displayed improperly. Big yikes!
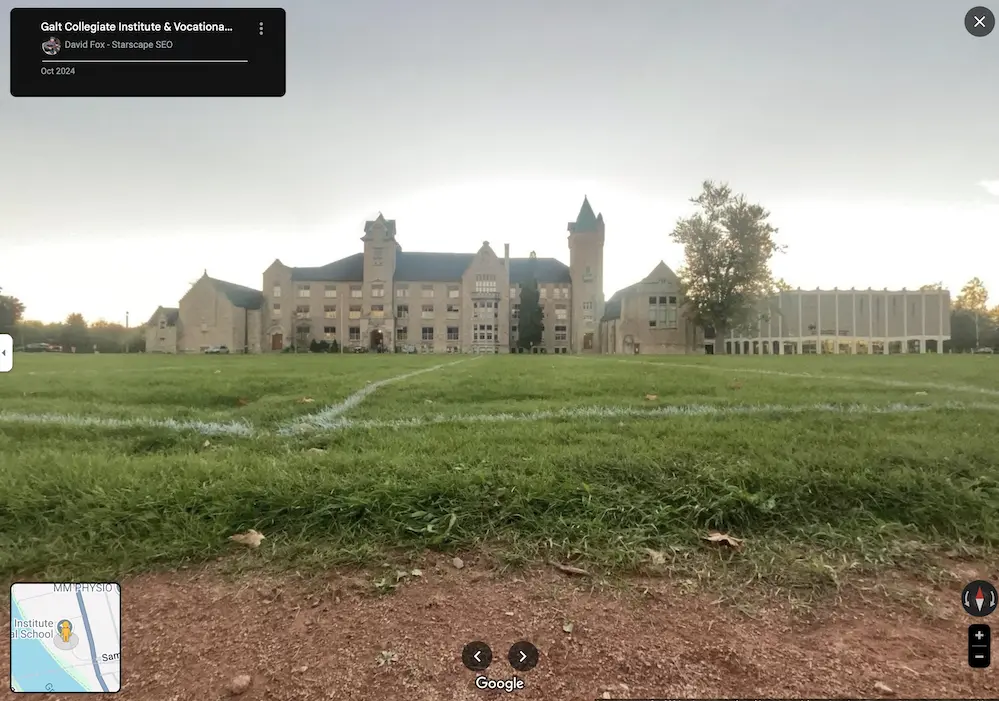
Here’s how it should look – it’s called the Fraser Woodlot.
Ok, back to the 360 metadata you should be aware of. Here are the key components to consider (even if you aren’t adding it yourself, it’s there):
Exif Metadata:
Panorama Tags: Your 360 JPEG should include tags that specify it as a spherical or equirectangular panorama. These tags are essential for Google Maps to interpret the image correctly.
Projection Type: The metadata must indicate the projection type as “spherical.” This information helps the viewer understand that they can interact with the image as a 360-degree environment.
Here’s a cool 3D photo image I uploaded of a local cemetery near me, ie. Mount View Cemetery (at night).
Spatial Orientation:
Camera Orientation: Metadata should also include details about the camera’s orientation when the image was taken. This includes tilt, roll, and pan angles, which help position the view accurately within the 360 space.
File Format:
JPEG: While JPEG is the standard format for these images, the real focus is on how the file is exported. Make sure to use software that embeds the necessary metadata for 360 photos.
Exporting 360 JPEGs from Insta 360
If you’re using an Insta 360 camera like I am (the Flow Pro, to be specific) it’s important to export your images correctly. Follow these steps to ensure your images retain their 360 properties:
Open Your Insta 360 Software: Use the software that comes with your camera for optimal results.
Select the Image: Choose the image you want to export as a 360-degree JPEG.
Use the 360 Export Option: Ensure you select the specific 360 export option. This will automatically embed the required metadata, including the projection type and orientation details.
Check File Size: Note that 360 JPEGs may be larger due to the added metadata, so be mindful of this when uploading.
Uploading to Google Maps
Once your image is exported with the correct settings, it’s time to upload it to Google Maps. Here’s how I do it, as I think there’s more than one way.
Log Into your Google Account: For me, this is usually gmail. You’ll know you’re logged in by the icon it shows in the top right of your browser. For me, this also means I’m acting as a “Google Local Guide”, but that’s another story. (Just hit Level 5 by the way – yay, me!)

Find Your Location: Search for the location where you want to upload your 360 photo.
Go to the “Maps” listing: Once you get to the Maps listing of the location, click on “Add Photos” and select your 360 JPEG. If everything is in order, Google Maps will recognize it as a 360-degree image.
Upload and wait a minute: Once uploaded, you can refresh your screen and hopefully that image will be in the Photos section under 360 Photos, AS a 360 degree photo and not as a squished blog with no 360 metadata.
Conclusion
By understanding the importance of metadata and following the right export processes, you can effectively upload 360 JPEGs to Google Maps.
Remember, this isn’t related to Google My Business, as in, your Google account that posts photos to Maps locations isn’t your Google My Business account, but there are ways to make it benefit your GMB. Call me to find out how!
In terms of the 3D photos themselves, this not only enhances your Google Maps’ location’s visibility but also provides an engaging experience for potential visitors.
So, grab your Insta 360 camera, capture those stunning views, and let your audience explore the world through your lens!